
How to Remove Tint Bubbles Without Ruining Film
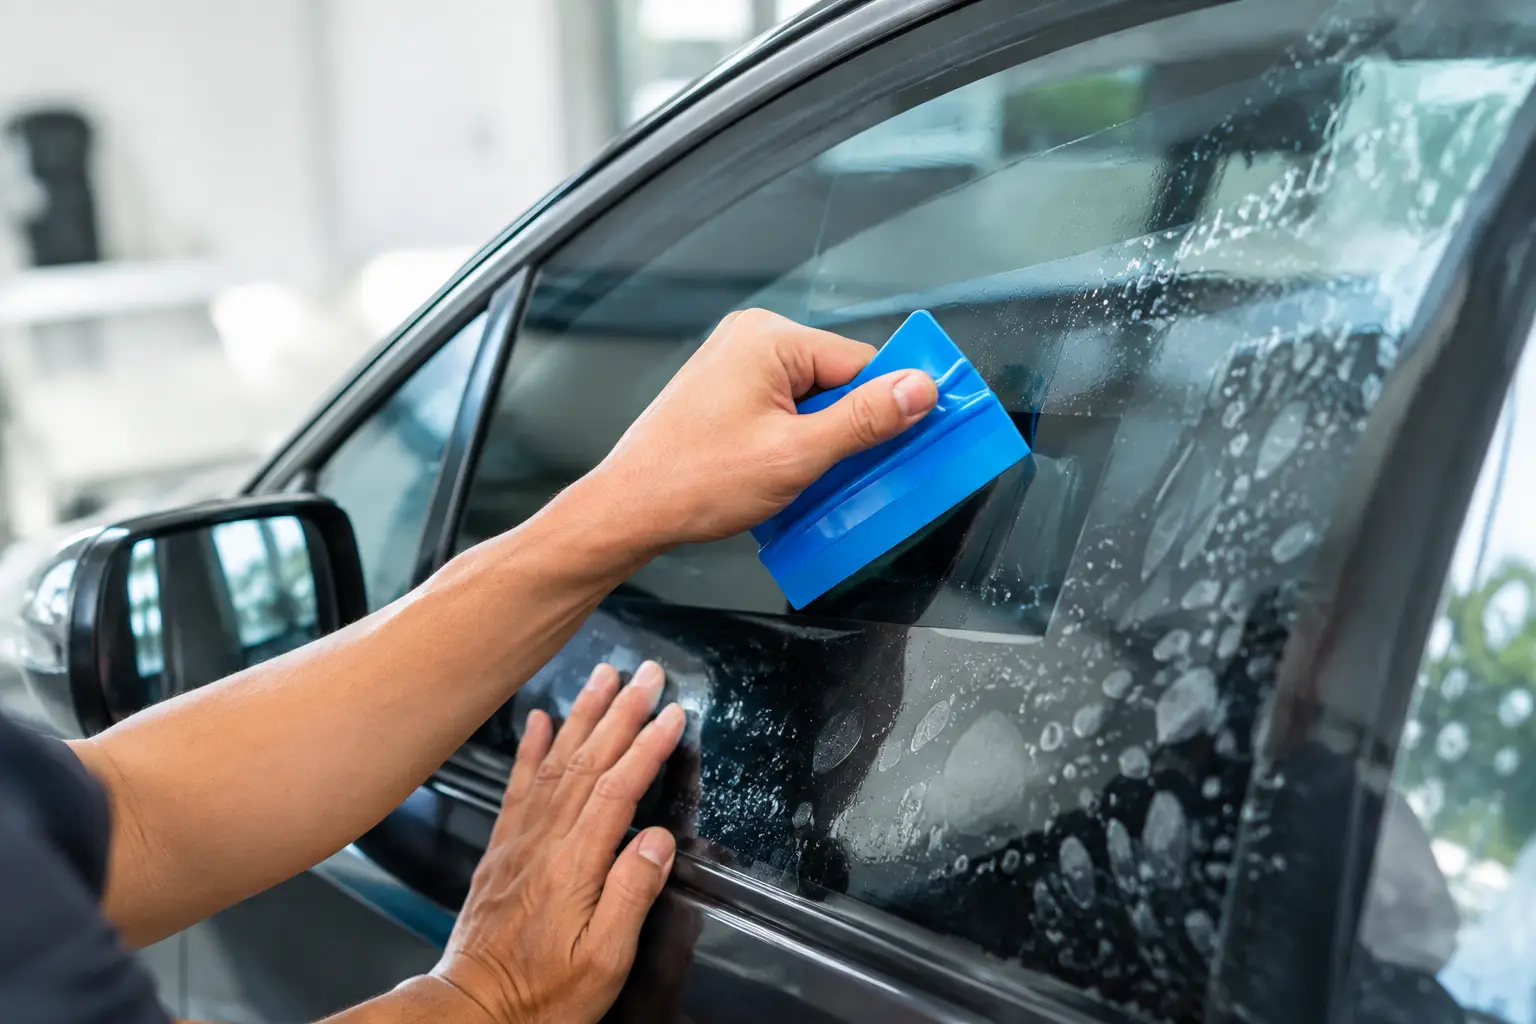
A bubble under fresh window film can make a clean tint job look unfinished, but grabbing a pin is usually the fastest way to turn a minor issue into permanent damage. Knowing how to remove tint bubbles starts with identifying what is actually under the film: trapped installation moisture, air, contamination, or failed adhesive. Each calls for a different move.
For South Florida drivers especially, the temptation is to roll down the windows, crank the A/C, and inspect every inch of new tint immediately. Resist it. Quality film needs time to cure, and what looks like a problem on day one may disappear completely once the mounting solution evaporates.
First, identify the type of tint bubble
Not every bubble means the tint was installed incorrectly. Window film is applied with a slip solution that allows the installer to position the material and squeegee it tight to the glass. Some moisture can remain behind the film, particularly around curved glass, dot-matrix edges, and defroster lines.
A small, soft-looking bubble or hazy patch on newly installed tint is often water. It may look silver, cloudy, or slightly wavy when sunlight hits it. In warm weather, most standard automotive tint cures within a few days to a couple of weeks. Humidity, rain, shaded parking, glass thickness, and the type of film can extend that timeline. On a rear windshield, curing can take longer.
A true air bubble usually has a crisp outline and stays in the same spot. Debris bubbles have a visible speck, fiber, or grain at the center. Old bubbles that appear months or years after installation are more likely caused by adhesive breakdown. Those are not curing issues, and no amount of waiting will make them disappear.
How to remove tint bubbles safely after installation
If the film was installed within the last few days, the best first step is no action. Keep the windows rolled up and let the tint cure. Avoid cleaning the inside glass or pressing aggressively on the film. A fresh installation needs stable conditions, not constant checking.
If you see a small water pocket after the normal cure period, use gentle heat and light pressure only if the film is still firmly bonded around the area. Park the vehicle in indirect warmth, not under extreme heat that can overstress the film. Then use a clean microfiber cloth wrapped around a firm plastic card or tint squeegee to carefully guide the moisture toward the nearest edge.
Work slowly from the center of the pocket outward. Do not drag the tool dry across the film. A little moisture on the outside surface can help the card glide without scratching. Stop immediately if the film starts to crease, stretch, or lift at an edge. Once a crease is locked into cured tint, it rarely returns to a factory-clean finish.
For a new installation with several bubbles, a large pocket, or bubbles near the top edge, call the installer before trying a DIY repair. A professional can assess whether the tint simply needs more cure time or whether a section needs to be reset. This is especially smart on rear glass, where defroster lines and tight curves make the work less forgiving.
Do not puncture the film unless replacement is already the plan
The internet is full of advice telling drivers to use a needle to pop tint bubbles. That approach can leave a pinhole, create a white stress mark, introduce dirt, and give moisture a path into the adhesive. On darker films, the damage can be obvious from both inside and outside the vehicle.
Puncturing may release a pocket of air, but it does not fix the reason the bubble formed. If the adhesive has failed or contamination is trapped beneath the film, the bubble will often return. It can also spread as the surrounding adhesive loses its hold.
Avoid razor blades, knives, metal scrapers, and high heat guns on installed tint. These tools can scratch film, melt it, or damage rear-window defroster grids. If the film is on a vehicle with integrated antennas, sensors, or delicate trim near the glass, an aggressive repair can create a more expensive problem than a tint replacement.
When tint bubbles cannot be repaired
Some bubbles are not repairable because the issue is below the surface, not on it. If a piece of dirt, hair, dust, or dried adhesive is trapped under the film, pressing it down will not make it vanish. The same goes for fingerprints, creases, and contamination around the edges.
Tint that begins bubbling years after installation is often telling you the adhesive has reached the end of its life. Heat, UV exposure, cheap film, harsh cleaners, and repeated window movement can all accelerate failure. You may also notice purple discoloration, fading, peeling corners, or a sticky appearance around the bubble. At that point, replacement is the clean answer.
This is where quality materials and proper preparation make a major difference. A professional installation starts with glass that is thoroughly cleaned, trimmed, and inspected before the film goes on. Premium film and skilled squeegee work do not eliminate the need for curing, but they greatly reduce the chance of permanent bubbles and early adhesive failure.
A practical check before you call for tint repair
Before scheduling service, look at the bubble under direct light and ask three questions: Is the tint new? Does the bubble look like clear moisture or does it have a sharp air pocket? Is there debris or a crease visible at its center?
If the tint is less than two weeks old and the spot looks watery, give it more time unless the installer instructs otherwise. If the bubble is large, sharply defined, growing, or still present after the cure window, document it with a clear photo and contact the shop. If the tint is old and showing fading or peeling, plan for removal and replacement rather than a patch.
A reputable shop should be able to explain the likely cause, inspect the film, and tell you whether the work falls under an installation warranty. That conversation is far more useful than experimenting with a pin on a window you look through every day.
Prevent bubbles on your next tint job
The best way to deal with tint bubbles is to avoid creating them in the first place. Choose a shop that uses proven film, works in a controlled installation environment, and gives clear aftercare instructions. Ask what curing should look like for your vehicle and climate, especially if you drive a large SUV, have a curved rear window, or are tinting specialty glass.
After installation, leave the windows up for the recommended period and do not clean the inside glass until the film has cured. When cleaning is allowed, use ammonia-free glass cleaner and a soft microfiber towel. Avoid abrasive pads and sharp objects near the edges of the film.
For vehicles that live in intense heat, including daily drivers parked outdoors in Deerfield Beach, investing in premium film can pay off in more than appearance. Better film is built to hold its color, manage heat, and maintain adhesion over the long haul. A clean installation should look like part of the glass, not an accessory fighting to stay attached.
If your tint is bubbling, let the condition of the film determine the fix. A little curing moisture may need patience. Failed adhesive, trapped debris, and aging film need a professional eye and, often, a fresh start. Tint Station can inspect the issue and help you get back to the smooth, custom finish your vehicle deserves.
Related window tinting services from Tint Station