Motorcycle Audio System Upgrade Guide
Wind noise changes everything. A speaker setup that sounds great in a garage can disappear the second you hit 45 mph, and that is exactly why a motorcycle audio system upgrade needs a different approach than a car stereo build.
On a bike, louder is not the whole answer. The right system has to balance volume, clarity, power draw, weather resistance, and clean installation. If one piece is off, the result is usually the same – harsh sound at speed, cluttered wiring, dead battery headaches, or equipment that gives up after a few storms and a hot South Florida summer.
What makes a motorcycle audio system upgrade different
Motorcycles are tough environments for electronics. You are dealing with open air, engine vibration, road grime, moisture, limited mounting space, and charging systems that are not always generous with extra power. That means product choice matters, but installation matters just as much.
Speaker placement is one of the biggest factors. On most bikes, the sound source is farther from your ears than it would be in a car, and there is no cabin to help contain or reinforce the audio. Fairing speakers, saddlebag speakers, and tour pack options can all work, but each setup behaves differently once wind enters the picture.
There is also the issue of rider expectations. Some riders want background music on weekend cruises. Others want strong, clean output that still cuts through at highway speed. Those are two different builds, and treating them the same is where people overspend in the wrong places.
Start with your riding style, not the parts catalog
Before buying anything, think about how and where you ride. If your bike mostly stays local and you spend more time under 50 mph, you may not need an aggressive multi-speaker setup with a high-output amplifier. A clean pair of quality speakers and a properly matched source unit may already be enough.
If you ride highways, long-distance routes, or group events, your priorities shift fast. You will usually need more efficient speakers, real amplification, and tuning that favors vocal clarity over exaggerated bass. Deep low end sounds impressive at a standstill, but at speed, midrange detail is what keeps music and vocals audible.
This is where a professional consultation helps. A good installer will ask what bike you ride, what fairing or bags you have, how often you ride at highway speed, and whether you care more about music quality, volume, appearance, or all three.
The core parts of a strong upgrade
Most motorcycle audio upgrades are built around four pieces: source, speakers, amplifier, and integration. The source could be a factory head unit, an upgraded receiver, or a Bluetooth controller depending on the bike and the rider’s preferences.
Speakers need to be chosen for more than brand recognition. Power handling, sensitivity, frequency response, and actual motorcycle-specific durability all matter. Marine-grade construction is often part of the conversation because resistance to water and UV exposure is a real issue on bikes.
Amplifiers are what separate average systems from setups that stay usable on the road. The catch is that more power is not automatically better. The amp has to match the charging system and the speakers, and it has to be mounted and wired correctly. Too much strain on the electrical system can lead to reliability issues that no rider wants.
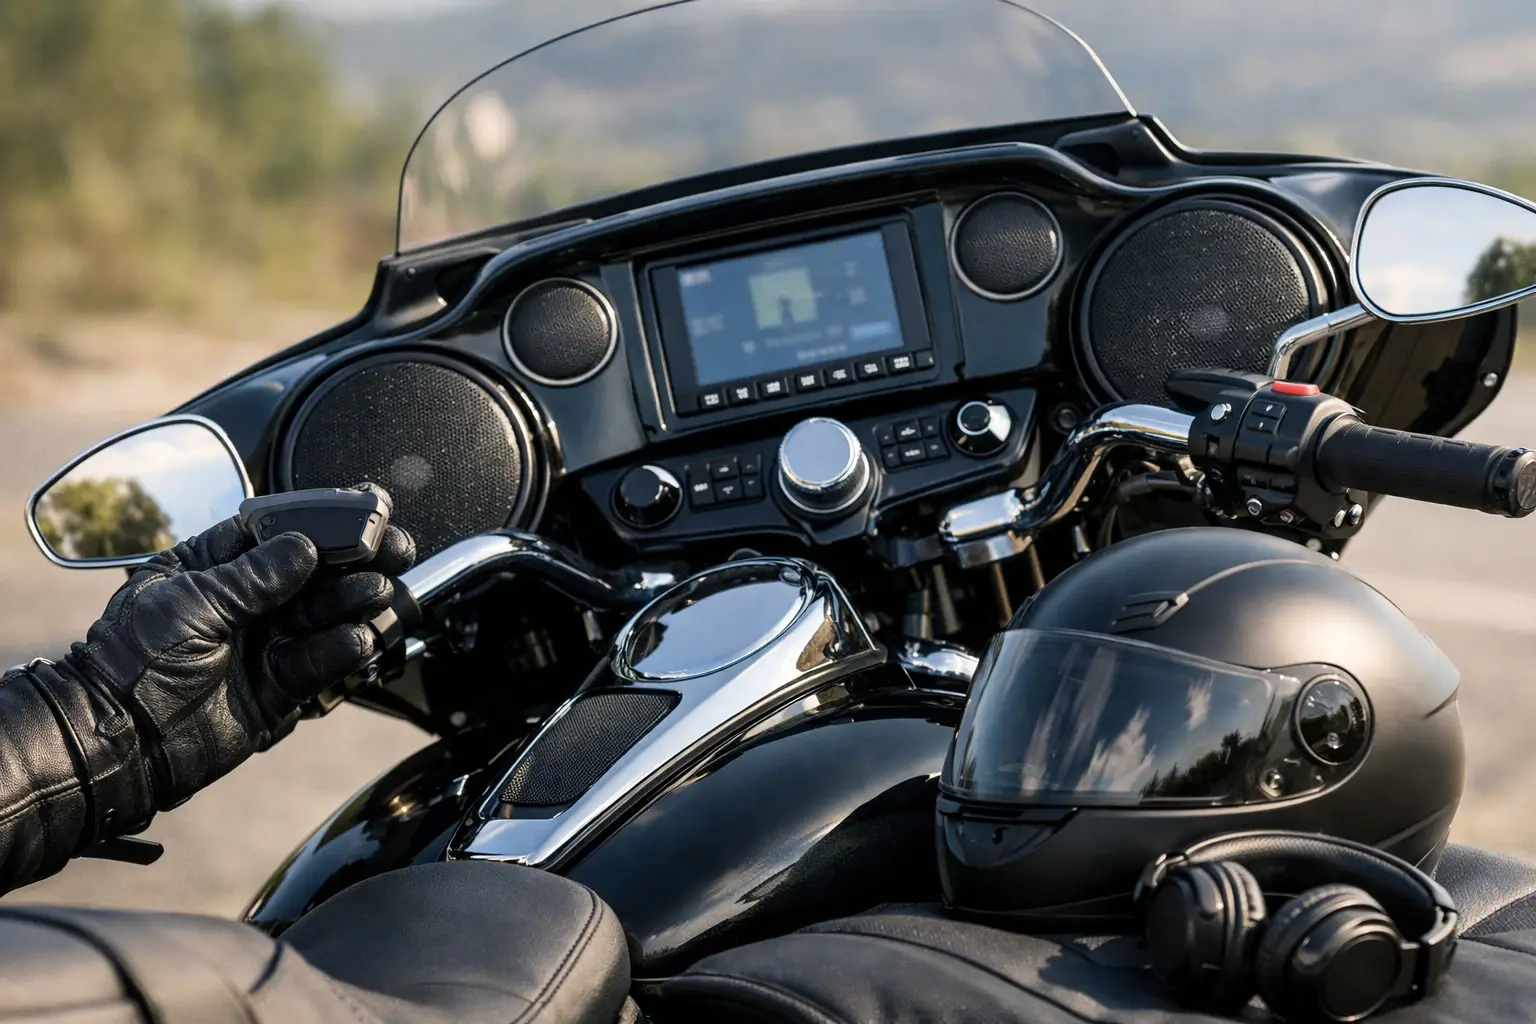
Integration is the piece people overlook. Controls should be easy to use with gloves, wiring should be protected and routed cleanly, and the finished setup should look like it belongs on the bike instead of hanging off it.
Choosing speakers for real-world riding
The best speaker for a motorcycle is rarely the one with the flashiest numbers on the box. Sensitivity is huge because efficient speakers can produce more output with less power. That matters on a bike where electrical headroom is limited.
Clarity matters more than raw bass. On the road, wind and engine noise fight for the same space where music detail lives. A speaker that stays crisp in the upper mids and highs will usually perform better for actual riding than one tuned to sound heavy and warm while parked.
Fitment matters too. Not every speaker works cleanly in every fairing, saddlebag lid, or pod. Custom fabrication can open up more options, but the build needs to stay secure, weather-conscious, and visually clean. A solid custom install should look intentional, not improvised.
Fairing speakers vs. bag speakers
Fairing speakers are usually the starting point because they project forward and keep the sound closer to the rider. For many bikes, that is the most practical first upgrade.
Bag speakers can add output and depth, especially on larger touring bikes, but they are not always the first move for every rider. If the front stage is weak, adding rear speakers does not fix the problem. It just adds more sound in the wrong places.
Why the amplifier matters more than most riders expect
Factory-powered systems often run out of clean volume quickly. Riders turn them up to compete with the road, and what they get is distortion. That distortion is fatiguing, and it can damage speakers over time.
A well-matched amplifier gives you headroom. That means the system can play louder without sounding strained. It also gives an installer more flexibility to tune the system correctly so vocals, guitars, podcasts, and navigation prompts stay intelligible.
The trade-off is power management. On some bikes, especially older models or smaller platforms, the charging system can limit what is realistic. That does not mean you cannot upgrade. It means the system should be designed around what the bike can actually support.
Weather resistance is not optional
A motorcycle audio system upgrade lives in heat, humidity, vibration, dust, and rain. Even if the bike is garage-kept, it is still exposed far more than a car interior system.
This is why proper materials matter. Water-resistant speakers, sealed connectors, quality wiring, fused power distribution, and thoughtful mounting are all part of a reliable build. Cheap shortcuts usually show up later as corrosion, intermittent sound, or full component failure.
South Florida riders know this better than most. Heat and moisture punish weak installs fast. If the job is worth doing, it is worth doing with products and workmanship that are built for that environment.
Clean installation changes the whole result
Good motorcycle audio is not just about what you buy. It is about how everything is installed, tuned, and finished. A clean install protects the bike, protects the equipment, and protects the look of the build.
Wiring should be tucked, secured, and shielded from pinch points and heat. Mounting should account for vibration. Components should be placed where serviceability still makes sense. If custom pods, lids, or panels are added, they need to match the style of the bike instead of fighting it.
That is where an experienced customization shop earns its keep. The difference between a parts swap and a properly executed audio build is obvious once you see the bike up close and hear it on the road.
How to plan the right motorcycle audio system upgrade budget
Budget should follow goals. If your goal is cleaner sound and Bluetooth convenience, you can keep the build focused and efficient. If your goal is highway-level output with custom styling, speaker expansion, and amplifier power, the budget naturally grows.
It also depends on the bike. A bagger with room for fairing and saddlebag upgrades gives you more paths than a smaller cruiser with limited mounting space. Some bikes need more fabrication, and fabrication affects labor.
The smartest move is to build in stages when needed. Start with the front speakers and amp. Evaluate the result. Then decide whether you actually need rear fill, additional speakers, source upgrades, or cosmetic customization to finish the look.
When professional installation is the better move
If you are comfortable wrenching on your own bike, there are pieces of this you may be tempted to do yourself. But motorcycle audio has less margin for error than many riders expect. One bad mounting decision, poor ground, weak connection, or exposed wire route can create noise issues, charging problems, or reliability headaches.
Professional installation makes the most sense when you want integrated controls, custom speaker placement, amplifier tuning, weather-conscious wiring, or a finished look that complements the bike. It is also the right move if you care about getting the most performance out of the gear instead of just getting it mounted.
At Tint Station, this kind of work fits the bigger picture. Riders come in looking for better sound, but they also want the bike to feel more complete – cleaner electronics, stronger style, and upgrades that look as dialed-in as they perform.
What to ask before you commit
Before moving forward, ask what the system will sound like at speed, how it will affect the bike’s electrical system, what parts are truly weather-resistant, and how much fabrication is involved. Ask whether the build can be expanded later. Ask how the controls will work with gloves and whether the final setup keeps the bike looking clean.
Those questions usually reveal the difference between a generic package and a system designed for your motorcycle.
A great bike deserves more than an off-the-shelf guess. The best motorcycle audio upgrades are built around how you ride, what you expect on the road, and how clean you want the finished machine to look. If you are ready to hear the difference instead of fighting your current setup every time you roll out, start with a real plan and get a quote that fits your bike.