
LED Rock Lights Installation Done Right
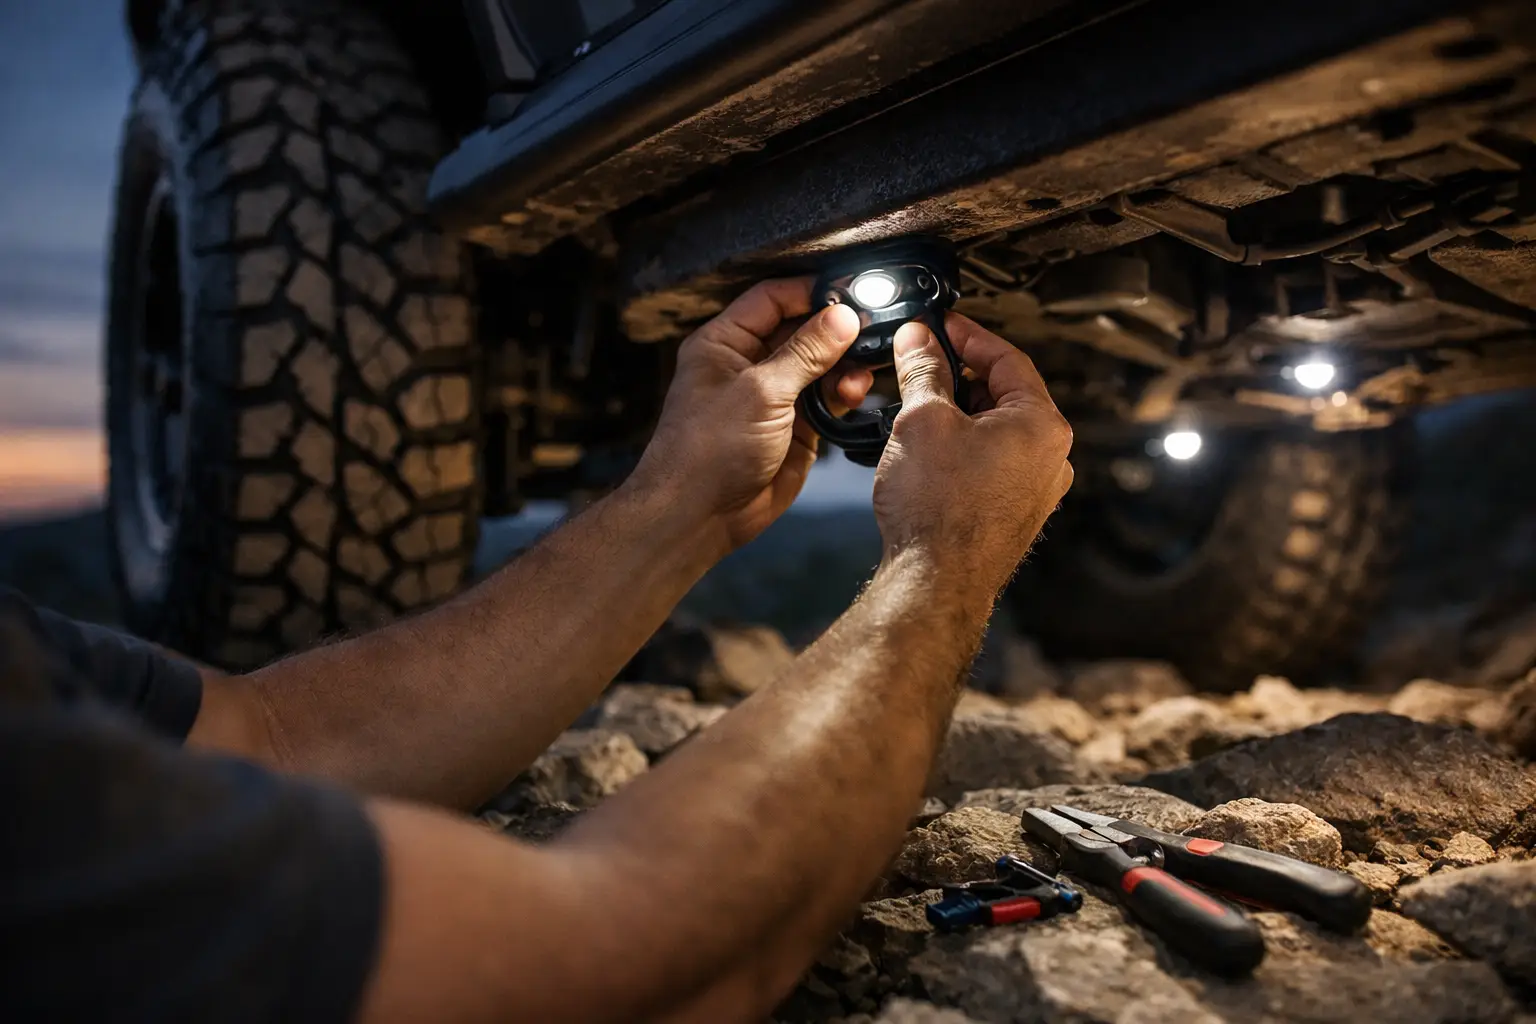
The difference between a clean build and a headache usually shows up after dark. A good led rock lights installation makes your truck, Jeep, ATV, or UTV look sharper, throws useful light exactly where you need it, and holds up when the weather turns ugly. A bad one leaves you chasing shorts, loose wiring, dim pods, and water damage that never should have happened in the first place.
That is why rock lights are not just about color and glow. They are part appearance upgrade, part functional lighting system, and the best results come from treating them like both. If you want your setup to look aggressive in the parking lot and still perform on trails, job sites, or back roads, placement, wiring, protection, and control all matter.
What LED rock lights installation actually involves
A lot of people assume rock lights are simple because the pods themselves are small. The install is where the real work lives. Every light needs a mounting point, clean wire routing, power delivery, weather protection, and a control method that fits how you use the vehicle.
On a basic setup, that might mean four pods mounted in the wheel wells with a switch inside the cab. On a more custom build, it can include eight or more pods, app control, multicolor functions, integration with other accent lighting, and custom routing that stays hidden from view. The more features you add, the more important it is to build the system correctly from the start.
There is also a difference between installing rock lights for looks and installing them for use. If your main goal is a sharp underglow effect around the wheels, placement can favor symmetry and visual impact. If you actually need better visibility over obstacles, ruts, mud, or uneven terrain, beam direction and coverage matter more than showing off the brightest color pattern.
Where rock lights should be mounted
Wheel wells are the starting point
Most rock light systems begin with one pod in each wheel well. This is the classic setup because it lights the ground around the tires and gives the vehicle that floating, high-end custom look after dark. It also provides practical visibility when you are maneuvering in low light.
The trick is avoiding direct exposure to debris while still getting usable output. Mount too low and the pod becomes a target for water, rocks, and road grime. Mount too high or at the wrong angle and you lose the light spread you paid for.
Frame rails, bumpers, and underbody zones add coverage
For larger vehicles or serious off-road use, extra pods along the frame or underbody can fill in dark spots. This is where an install can go from basic to fully dialed-in. More coverage usually means better function, but it also means more wiring, more connection points, and more chances for something to fail if the install is rushed.
That is one of the biggest trade-offs. More lights create a better effect and better coverage, but they also demand cleaner planning.
Why wiring quality matters more than the lights themselves
Cheap pods can fail, sure. But more often, problems come from poor wiring. Exposed runs, weak grounds, sloppy splices, overloaded circuits, and bad switch placement are what turn a lighting upgrade into a return visit.
A professional led rock lights installation should account for heat, moisture, suspension movement, and road debris. Wires need to be routed away from moving parts and sharp edges. Connections need to be sealed. The system should be fused properly. If the vehicle sees off-road use, marine conditions, or heavy rain, that protection becomes even more important.
In South Florida especially, moisture is not theoretical. Humidity, rain, washdowns, and salt exposure can expose weak installs fast. A setup that looks fine on day one can start corroding early if the wiring and mounting hardware are not chosen with real conditions in mind.
Choosing the right type of rock light kit
Not every kit fits every vehicle or every goal. Some drivers want a clean white light for utility. Others want full RGB or RGBW color control for shows, meets, and custom styling. Some want a simple switch. Others want Bluetooth control, grouped zones, and synchronized lighting effects.
The right choice depends on how you use the vehicle.
If the vehicle is a daily driver, reliability and clean integration usually matter more than extreme features. If it is a Jeep, side-by-side, or lifted truck built for events and trail use, more advanced control may be worth it. If it is a work truck or fleet vehicle, function and durability should lead the decision.
Brightness matters too, but more is not always better. Overly intense lights can create harsh glare or uneven coverage. Good rock lighting should spread evenly and support the vehicle’s look instead of blasting random hot spots.
DIY vs professional installation
DIY can work on simple builds
If you are mechanically inclined and working with a basic four-pod kit, a do-it-yourself install may be doable. The vehicle type matters, though. Some trucks and SUVs offer straightforward access and mounting points. Others do not. If you need to remove liners, route wires through tight spaces, or integrate with factory switches, the complexity climbs quickly.
DIY also makes more sense when the goal is simple function, not a fully hidden custom result.
Professional work shows in the details
A pro install is not just about getting the lights to turn on. It is about making the system look like it belongs on the vehicle. That means balanced placement, tucked wiring, solid hardware, proper fusing, dependable controls, and no visible mess under the truck.
It also matters if you plan to expand later. A shop that understands custom electronics can build with future upgrades in mind, whether that means grille lighting, interior ambient lighting, audio, security, or other appearance packages. That kind of planning saves time and money compared to redoing a half-finished setup later.
Common mistakes that ruin rock light installs
The most common issue is poor mounting location. Lights get installed where they are easy to reach instead of where they actually perform best. That creates weak coverage and exposes the pods to unnecessary abuse.
The second problem is bad wire management. Hanging wire, loose zip ties, and unsealed connections might survive for a little while, but not for long. Suspension travel, water, mud, and heat will test every shortcut.
The third is mismatched expectations. Some customers want a trail-ready system but choose the cheapest possible kit. Others want a clean show-style look but do not budget for the extra labor needed to hide everything properly. The result is disappointment, not because rock lights are a bad upgrade, but because the install plan did not match the goal.
How long LED rock lights installation takes
A simple install can be done relatively quickly, but a lot depends on the vehicle and the finish level. Four pods with easy access points and a basic switch setup are one thing. A custom multi-pod system with hidden routing, app control, and added zones is another.
Lifted trucks, Jeeps, side-by-sides, and custom builds all present different challenges. Some need more disassembly. Some need more fabrication. Some need special routing to keep wiring protected from heat and articulation. Time goes up when the goal is a cleaner, more durable result, and that is usually time well spent.
When rock lights are worth it
Rock lights are worth it when you want more than a generic accessory. They make sense for off-road vehicles that need low-area lighting, for custom trucks that need a stronger nighttime presence, and for owners who want a polished upgrade that stands out without looking cheap.
They are also one of those upgrades that can complement a larger vision. If your vehicle already has wheels, suspension, tint, audio, or other custom work, a properly installed rock light system can tie the whole build together. Done right, it feels intentional.
If you are only chasing the lowest price, though, it may not feel worth it. Lighting upgrades reward good parts and good labor. That does not mean you need the most expensive setup on the market. It means you should care about how the system is built, not just what color it glows.
Getting the finish right
A clean install should look sharp at night and nearly disappear during the day. That balance is what separates a premium upgrade from an afterthought. Hardware should be secure, wiring should stay out of sight, controls should be easy to use, and the light output should feel even across the vehicle.
That is where experienced customization work matters. Shops that already handle vehicle electronics, lighting, audio, and appearance upgrades understand how to build systems that do more than just switch on. At Tint Station, that full-vehicle mindset is what turns a small lighting add-on into a finished result that actually fits the build.
If you are thinking about rock lights, start with the real question: do you want lights added to your vehicle, or do you want the vehicle upgraded properly? That answer usually tells you everything you need to know.