
Car Tint Maintenance Tips for a Cleaner Finish
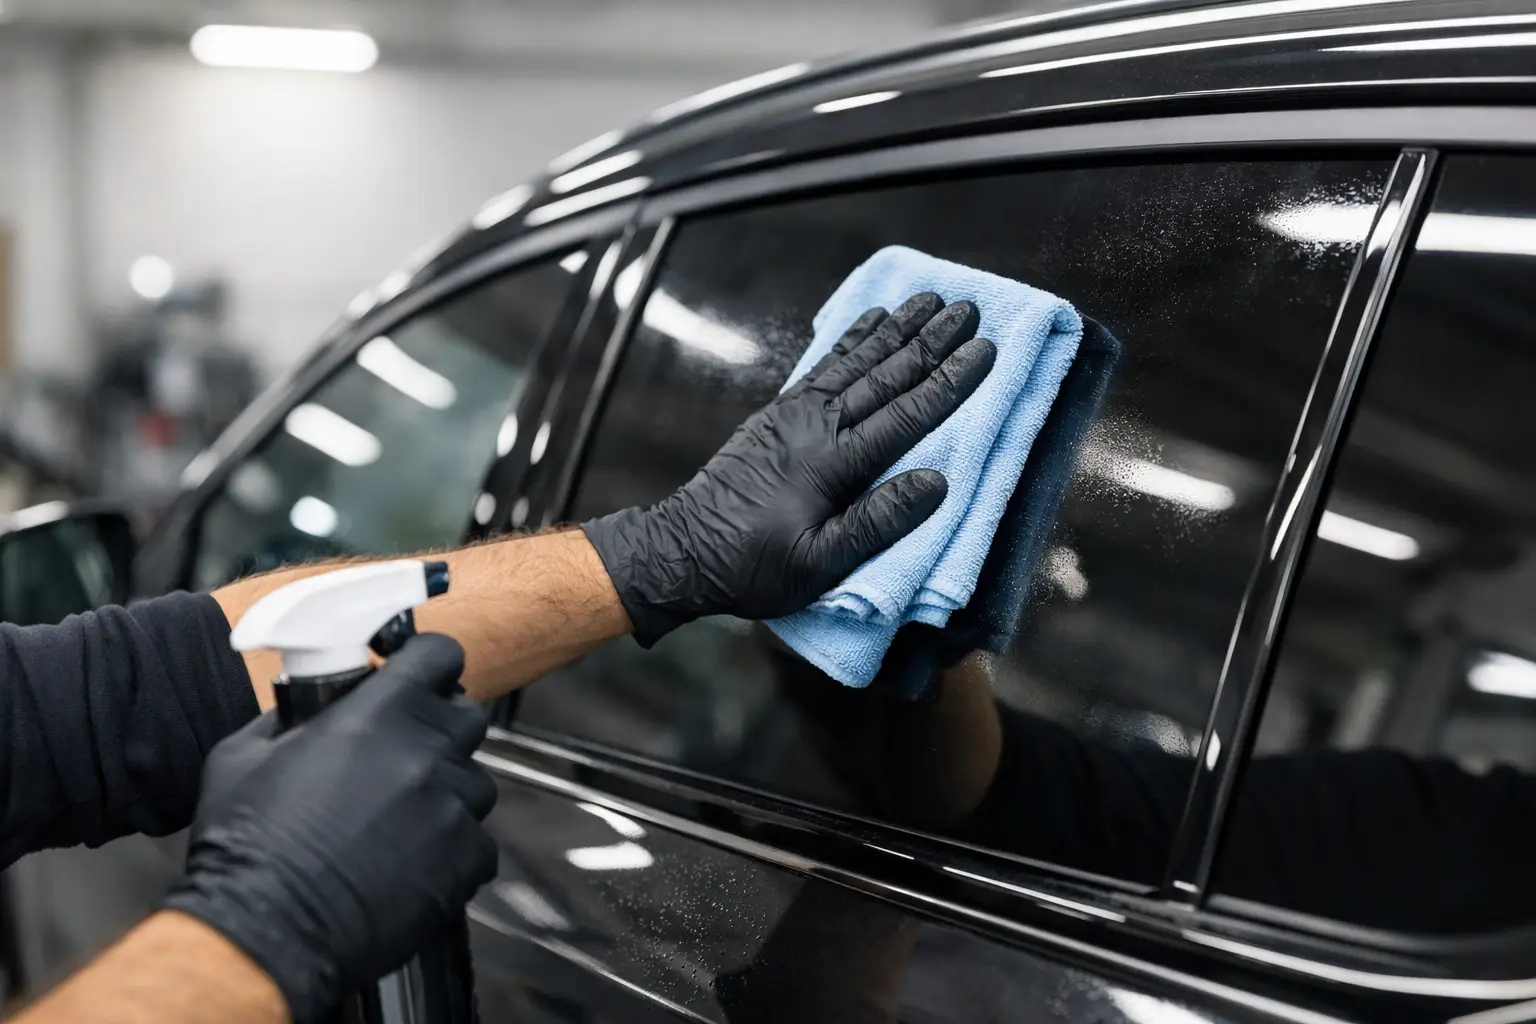
South Florida sun can expose weak tint care fast. A film that looked deep, clean, and premium at installation can turn hazy, scratched, or lifted around the edges when it is treated like bare glass. These car tint maintenance tips help protect the finish, heat rejection, privacy, and custom look you paid for.
Quality window film is built to handle daily driving, but it is not indestructible. The biggest threats are usually simple habits: cleaning with the wrong product, rolling windows down too soon, dragging grit across the film, or scraping at an edge. A little care keeps your tint looking sharp and performing the way it should.
Let Fresh Tint Cure Before You Clean It
The first days after installation matter most. Window film is applied with a mounting solution, and moisture needs time to evaporate through the film before the adhesive fully settles. During that period, you may see light haze, tiny water pockets, or a slightly streaky appearance. That is usually part of the curing process, not a sign that the tint failed.
Avoid rolling your windows down for the timeframe your installer recommends. In South Florida heat, curing may move faster than it does in colder climates, but humidity, film type, and glass shape still affect the process. Do not wash the inside of the windows or press on the film while it cures.
If you notice a large bubble, an edge that is lifting, or debris trapped under the film, contact the installer instead of trying to fix it yourself. Picking at a corner can turn a small service issue into a full replacement.
Use Tint-Safe Glass Cleaner
The most reliable car tint maintenance rule is simple: clean the inside of tinted glass with an ammonia-free cleaner. Ammonia can dry out or discolor certain films over time, especially when it is used repeatedly in direct heat. It can also contribute to a cloudy, purple, or uneven look on lower-quality tint.
Choose a cleaner labeled safe for window film, or use a mild mixture of water and a small amount of gentle soap. Spray the cloth rather than soaking the window. Overspray can run into door panels, switches, speaker grilles, and trim, which is not ideal in a vehicle with custom audio or electronics.
For the actual wipe-down, use a clean microfiber towel. Paper towels can feel soft, but many are abrasive enough to leave fine scratches after repeated use. Those marks may not show at night, then become obvious when sunlight hits the glass at the right angle.
Keep Two Microfiber Towels in Your Vehicle
One towel should be slightly damp for cleaning, and the other should be dry for the final pass. This quick two-towel method prevents streaks without aggressive rubbing. It is especially useful on the windshield strip, side windows, and rear glass where fingerprints and interior glare show up fast.
Do not use the same towel you use for wheels, exterior paint, dashboard dressing, or door jambs. Even a small amount of grit or detailing chemical can scratch film or leave a stubborn residue.
Clean Grit Away Before You Wipe
Dust and sand are a bigger deal than most drivers realize. Around Deerfield Beach and other coastal areas, fine sand can collect on seals and window edges. When the glass moves up and down, that debris can drag across the tint, especially near the lower portion of side windows.
Before cleaning the inside of the glass, lightly mist the surface and let the cleaner loosen dust. Wipe gently in straight, overlapping passes. Avoid hard circular scrubbing, which can create visible swirl marks over time.
If a window has sticky residue from a decal, a suction-cup mount, a child’s handprint, or a pet nose, resist the urge to scrape it with a razor blade. Razor blades are fine for some untreated exterior glass jobs, but they can cut or score window film in seconds. Let a tint-safe cleaner dwell for a moment, then lift the residue with a soft microfiber towel.
Protect the Edges of Your Window Film
Most tint failures begin at an edge, not in the middle of the glass. The edge is where cleaning tools, fingernails, seat belts, cargo, and window seals can catch the film. Once a corner starts lifting, dirt and moisture can work underneath it.
When cleaning near the bottom of a side window, use light pressure and move away from the edge rather than forcing a towel into the seal. Be careful when loading long items into the vehicle, too. Fishing rods, umbrellas, tools, and sporting gear can strike the rear glass or side windows and leave a crease or scratch.
Drivers with pets should pay special attention. Dogs leaning against a tinted window can leave deep claw marks, especially if they get excited at a drive-thru or when another dog walks by. A window barrier, seat cover, or designated rear-seat position can save the film from unnecessary damage.
Be Smart With Defrosters and Rear Glass
Rear windows require a different approach because the tint sits over defroster lines. Never scrub aggressively across the lines, and never use sharp tools to remove residue. Damaging a defroster line can affect visibility and may require glass repair, not just tint repair.
Use a soft microfiber towel and wipe along the defroster lines whenever possible. If you need extra cleaning power, use more moisture and less pressure. The same rule applies to rear glass with antenna elements or embedded electronics.
A properly installed rear tint job is designed to work around these features. Still, the film deserves a careful hand, particularly on vehicles with large back glass, tight curves, or heavily used rear cargo areas.
Watch What You Put on Your Interior
Some dashboard sprays, air fresheners, cleaners, and protectants release oils that can coat the inside of the glass. That film creates glare, attracts dust, and makes tinted windows look dirty even after cleaning. It can also become more noticeable when sunlight is intense.
Keep glossy interior products away from the glass, and wipe off any overspray immediately with a clean microfiber towel. If you use a scent diffuser or aerosol interior product, aim it away from windows. The goal is not just cleaner tint. It is better visibility behind the wheel.
Heat management helps, too. Parking in shade or using a windshield sunshade reduces interior temperatures and protects every custom surface in the cabin, including tint, upholstery, electronics, and dash materials. Ceramic tint already helps reject heat, but there is no downside to reducing the heat load when your vehicle sits for hours.
Know the Difference Between Normal Wear and a Tint Problem
A few light smudges and cleaning marks are normal signs of daily use. Purple discoloration, widespread bubbling, peeling edges, distorted optics, or a milky appearance are not. Those issues can come from old film, poor-quality material, installation problems, or damage from harsh chemicals.
Do not try to glue a lifting edge down with household adhesive. It will usually look worse, collect dirt, and complicate professional removal. Likewise, avoid heating, poking, or cutting bubbles on your own. Window film is a precision finish, and DIY fixes can damage defroster lines, leave adhesive behind, or scratch the glass.
If your tint is aging out, replacement can be a major visual upgrade. Modern film options can deliver darker style, clearer visibility, improved heat rejection, UV protection, and a cleaner match across all windows. It depends on your vehicle, local tint laws, and how you use it, whether that means commuting, hauling family, working from the vehicle, or building a show-ready custom ride.
Make Tint Care Part of Your Regular Detail Routine
You do not need a complicated schedule. Clean the inside of your tinted windows whenever fingerprints, haze, or dust begin affecting visibility, and inspect the edges during a normal wash or interior detail. A quick check catches small problems before they become noticeable.
For drivers who take pride in a clean cabin and a polished exterior, tint maintenance is part of protecting the whole build. The right film can make a daily driver feel cooler, more private, and more finished. Keeping it clean with the right products preserves that transformation every time you walk up to the vehicle.
If your current tint looks worn, scratched, or outdated, a professional inspection is the smart next move. Tint Station can help you determine whether a careful cleanup, minor correction, or fresh custom tint installation will bring your vehicle back to the look and comfort you want.