
How to Add Ambient Vehicle Lighting Right
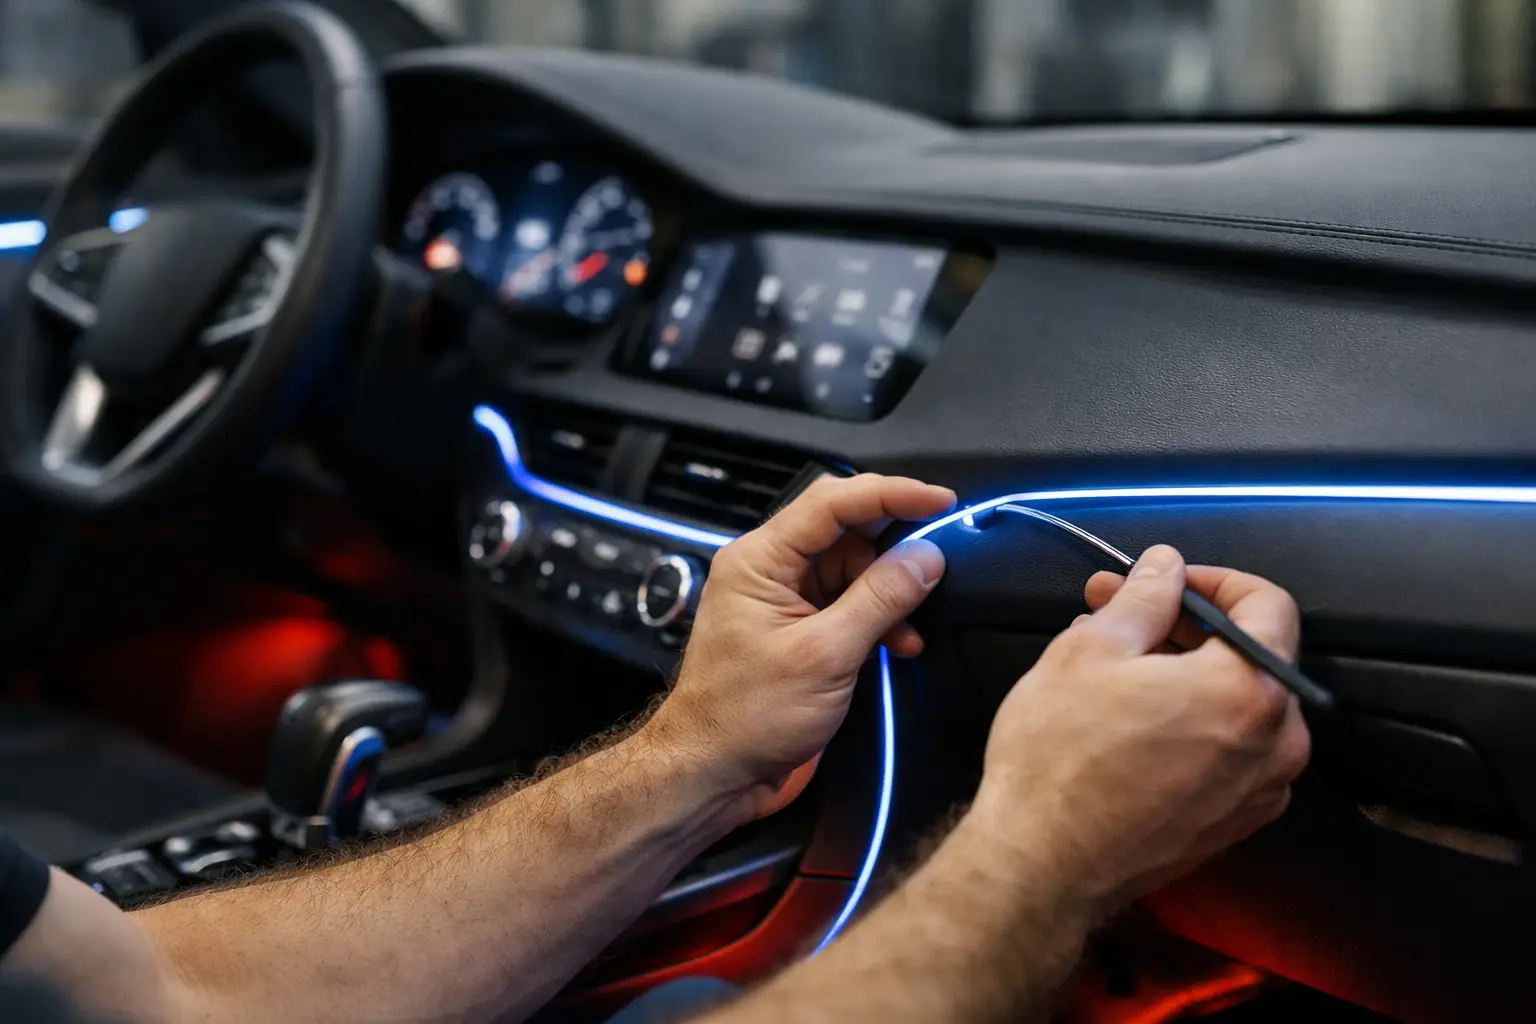
A clean ambient lighting setup changes the cabin the moment the sun goes down. The right glow can make a daily driver feel more premium, bring a custom audio build together, and give your interior a look that is unmistakably yours. But learning how to add ambient vehicle lighting is not just about sticking LED strips under the dash. Placement, power, color, and wire management decide whether the result feels factory-built or looks like an afterthought.
For South Florida drivers especially, a quality installation also needs to stand up to heat, humidity, frequent use, and the occasional long night drive. Here is how to plan an ambient lighting upgrade that looks sharp and works the way it should.
Start With the Look You Want
Ambient lighting should support the interior, not compete with it. Before choosing a kit, think about the mood you want when you open the door or drive at night. A soft white, ice blue, or warm amber setup can add a refined OEM-style appearance. RGB or RGBIC lighting gives you access to changing colors, music-reactive effects, and custom scenes for meets, shows, or weekend cruising.
The trade-off is simple: more features mean more setup and more opportunities for a messy install. If you want a subtle, premium cabin, a single-color or app-controlled RGB system with a few well-chosen zones is usually the better move. If your vehicle is built around a custom stereo, illuminated speakers, or a show-ready interior, multi-zone RGBIC lighting can create a much bigger visual statement.
Try to match the lighting to what is already in the vehicle. Blue lighting may work with a blue gauge cluster, while red can look right in a sport-focused interior. On many modern vehicles, cool white or a soft accent color blends best with factory screens and buttons. The goal is intentional customization, not a cabin filled with competing colors.
Choose the Right Ambient Lighting Zones
The best ambient lighting is rarely concentrated in one place. It creates a balanced glow across the cabin without shining directly into the driver’s eyes. Common installation zones include the footwells, lower dash, center console, door pockets, door panel trim, cup holders, seat rails, and rear passenger footwells.
Footwell lighting is one of the most effective starting points because it adds visibility and style without being distracting. Door-panel lighting creates a more upscale, factory-inspired look, especially when thin fiber-optic strips are installed along existing trim lines. Center-console and cup-holder lighting are smaller details, but they make the interior look finished when paired with the other zones.
Avoid placing exposed LEDs where passengers can kick them, where they are visible from normal seating positions, or where the individual LED points create harsh hot spots. A quality install hides the light source and lets the reflected glow do the work. That is why slim diffused strips, fiber-optic trim kits, and carefully concealed wiring matter so much.
Keep Safety Areas Clear
Never run lighting or wiring across airbag deployment zones, steering-column components, brake pedals, accelerator pedals, seat tracks, or seatbelt mechanisms. Door panels can be excellent locations for accent lighting, but modern doors often contain side-impact airbags, sensors, window regulators, and factory harnesses.
If a vehicle has illuminated trim, advanced driver-assistance sensors, or complex factory electronics, guessing is not worth the risk. Professional installers know how to remove panels correctly, identify safe wire paths, and reassemble the interior without creating rattles, warning lights, or damaged clips.
Pick a Control Method That Fits Your Driving
Most aftermarket ambient lighting systems are controlled through a small remote, a phone app, a dash-mounted switch, or an integration module. Each has a place.
A remote is simple, but it is easy to lose and may end up in the glove box. App-controlled systems give you the most color and scene options, but you should set your preferred driving color before moving. A dash switch is practical when you want quick control without reaching for your phone. More advanced installations can be tied into door triggers, ignition power, factory interior lights, or a custom controller for a more integrated experience.
For a daily driver, it makes sense to use an ignition-switched power source so the lighting turns off with the vehicle. This prevents battery drain from a controller that stays active after you park. Door-trigger integration can be a great touch too, allowing the lights to come on when the doors open and fade out after you get in.
Keep brightness in check. A bright purple cabin may look great in a parking lot, but strong light reflected in the windshield or side windows can reduce night visibility. Choose a dimmable system and set a lower brightness level for driving. Reserve the brighter effects for parked display mode.
How to Add Ambient Vehicle Lighting Without Wiring Problems
The wiring is where a clean build separates itself from a weekend shortcut. Ambient lighting systems need a stable 12-volt source, a proper ground, protected connections, and wire routing that will not get pinched or pulled loose over time.
Many basic kits plug into a 12-volt accessory outlet. That can be fine for a quick, removable setup, but it leaves visible wiring and limits how integrated the final result can look. Hardwiring a system behind the dash creates a cleaner finish and makes it easier to hide the controller and run power to multiple zones.
Use a fused power connection sized for the lighting system’s current draw. Never tap a random factory wire just because it has power. The wrong connection can cause electrical faults, blown fuses, flickering lights, or damage to sensitive modules. Test all circuits with the correct equipment, and use quality connectors, heat shrink, and loom protection rather than twisting wires together and covering them with tape.
Routing matters just as much as the connection itself. Wires should follow existing harness paths when possible, be secured to prevent rattling, and be kept away from sharp metal edges and moving components. Under-seat wiring needs extra care because seats move and may contain airbag connectors. In a humid climate, protected connections are especially valuable because moisture can turn a weak electrical connection into an intermittent problem.
Plan for Serviceability
A good installation should be easy to troubleshoot later. Leave enough access to the controller, fuse, and key connectors that they can be checked without taking apart half the interior. Labeling wires may feel unnecessary on a small job, but it is helpful when a future audio upgrade, security system, or additional lighting zone is added.
This is one reason many owners combine ambient lighting with other interior upgrades. When dash panels and door cards are already being removed for a radio, amplifier, speakers, backup camera, or security system, it can be the right time to add lighting with less duplicate labor.
Choose Quality Components Over the Cheapest Kit
Low-cost LED kits can be tempting, especially when the product photos promise endless color options. The problem is that poor-quality kits often use weak adhesive, thin wiring, inconsistent colors, glitchy Bluetooth apps, and controllers that fail early in hot interiors.
Look for lighting designed for automotive use, with flexible diffused channels, dependable connectors, an inline fuse, and a controller that offers dimming. If you want animated effects, RGBIC lighting can create multiple colors along one strip. If you want every zone to match exactly, standard RGB lighting may be easier to control and tune.
Also consider how the product will age. Adhesive strips exposed to Florida heat can loosen if the surface is not cleaned and properly prepped. Fiber-optic trim needs careful routing so it sits flush and does not buckle around curves. A professionally installed system accounts for these details before the first panel goes back into place.
Know What to Avoid on the Road
Interior accent lighting is generally about personal style, but it should never distract the driver or imitate emergency lighting. Avoid flashing red-and-blue patterns while driving, and keep any visible lighting at a reasonable brightness. Laws and enforcement can vary by location, so the safest approach is to use stationary show modes only when parked and select a calm, dim color for the road.
Your windshield is the biggest factor. If the LEDs reflect off the glass, reposition them, lower the brightness, or choose a more indirect mounting point. A setup that photographs well but makes night driving harder is not an upgrade.
Get a Custom Finish Instead of a Quick Fix
Ambient lighting can be a simple footwell upgrade or a full interior transformation with illuminated door trim, console accents, speaker lighting, and synchronized audio effects. The best option depends on your vehicle, budget, and how bold you want the final look to be.
At Tint Station, custom ambient vehicle lighting can be planned around the rest of your build, from window tint and audio upgrades to security and appearance work. A professional consultation helps identify the right lighting zones, control options, and installation approach before anything is taken apart.
Start with the areas you use and notice every day, then build outward. When the lighting is hidden, balanced, and wired correctly, every night drive feels like you stepped into a vehicle made specifically for you.